Configurations Page
Embedded webserver starts with Configuration Page which contains multiple sections (Site Data Configuration, Network Configuration and Update Configuration).
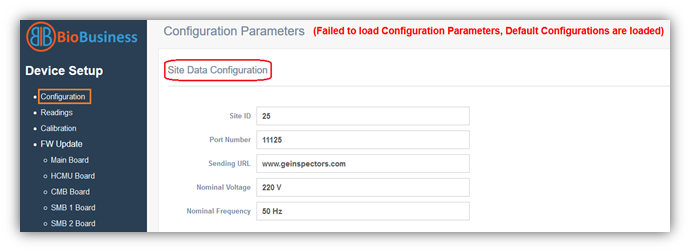
- Sites Data Configuration which contains (Site ID, Port Number, Sending URL, Nominal Voltage and Nominal frequency)
Parameter |
Declaration |
Site ID |
Unique numerical ID for the site |
Port Number |
Port number of cloud that Inspector sends data to |
Sending URL |
The URL that Inspector sends data to |
Nominal Voltage |
Nominal voltage at site in which Inspector is installed |
Nominal Frequency |
Nominal frequency at site in which Inspector is installed |
- Network Configuration contains loaded and configured information (Physical Address, DHCP, IP, Subnet Mask, Gateway, Primary DNS and Secondary DNS)

Note:
- Loaded: this is the currently loaded configurations
- Configured: this is the latest configured by user
|
If DHCP is Disabled and the loaded and configured are different, restart Inspector. If it still doesn’t work, turn power off and remove battery, plug it again and turn it on. |

- In case of the DHCP is disabled, the two sections are identical
- In case you have enabled the DHCP, the Loaded and Configured sections will be different in IP, Subnet Mask, Gateway, Primary DNS and Secondary DNS
- In case you are not sure which configurations are actually configured, there is a backdoor to overcome this problem, simply connect a 12 Volts DC adapter to Inspector and restart to override the user configurations (this option is available in firmware version 3.5.0 and later)
- When a DC adapter is connected, Inspector ignores the latest user configurations and starts up with default BioBusiness network configurations (if DHCP is enabled over the network, by default Inspector will get configurations from DHCP server)
- Now you can apply new configurations, disconnect the DC adapter and restart Inspector to load with your new configurations
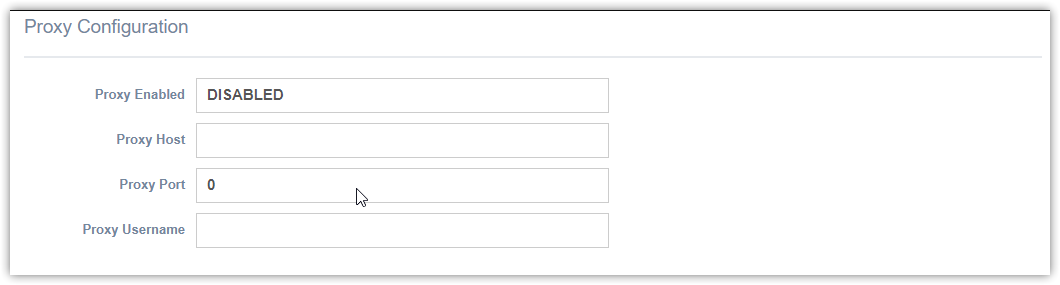
- Proxy Configuration which can be updated using Create Site/Edit Site page
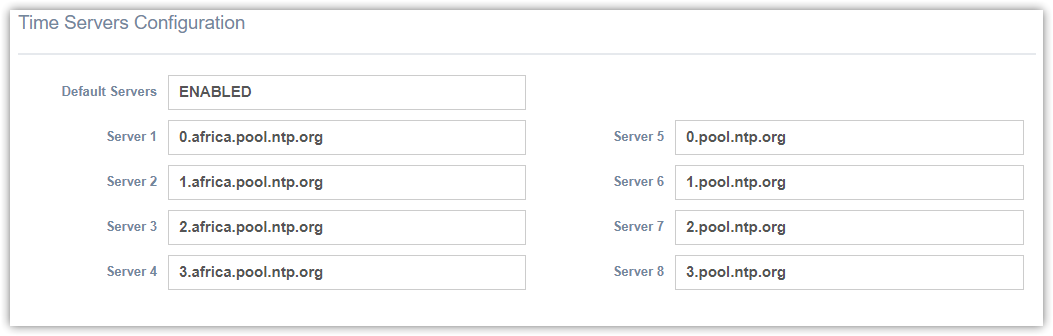
- Time Servers (Default time servers are enabled), and can be updated using Create Site/Edit Site page
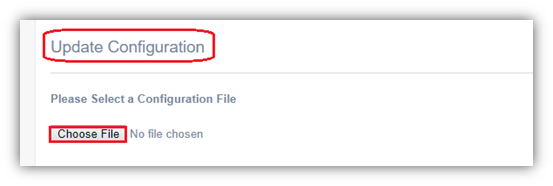
- Update Configuration which is responsible for uploading appropriate file as following:
- Choose configuration file downloaded from website as declared in Create New Site page.
- Choose File.
- Click Upload button and wait until it totally loaded.